Lab Guide
Prerequisites
You will need to have an AWS account with sufficient priviliges to create resources in Amazon Lightsail and create an IAM role with full S3 priviliges to complete this lab.
You should be familiar with using a command line.
The ability to edit files with a Linux text editor is helpful, but not mandatory
Deploy your infrastructure
Please create all your resources in the Oregon / us-west-2 region
Deploy your Lightsail instance
In this step you’ll deploy a Lightsail instance running WordPress
Log into your AWS account
Navigate to the Lightsail home page
Close any notifcations that pop up or slide out
Click Create instance
Scroll down and under Select a blueprint click OS only and select WordPress

You can accept the default value for the instance size
Scroll down and under Identify your instance enter wordpress-1 as the name
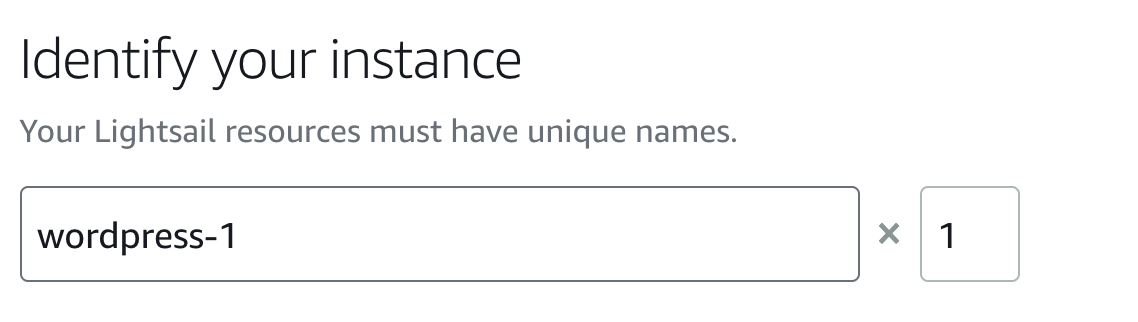
Click Create instance
Deploy the Lightsail database
The WordPress image you deployed has a built-int database, however since we want to scale out our WordPress installation, we’ll need to make sure we have a standalone database that our WordPress front-end servers will all connect into.
In this section we’ll deploy a Lightsail database. Lightsail databases are a managed database service that allow you to get away from the complexity of deploying and managing database software. Lightsail manages the underlying infrastructure and database engine, you only need to worry about creating and deploying the actual databases and tables running inside the service.
From the Lightsail console home page select Databases from the horizontal menu

Click Create database

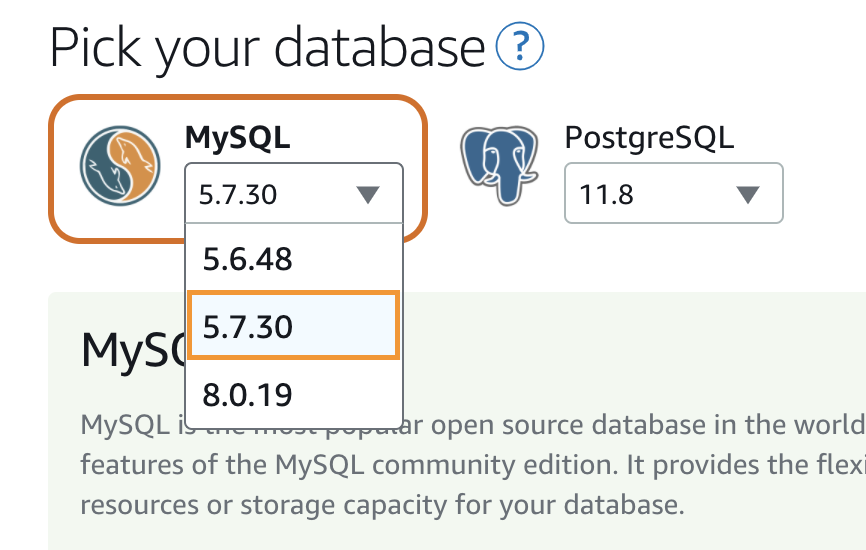
Make sure you’re deploying your database into the same region as your other resources.
From the MySQL dropdown choose version 5.7.30.
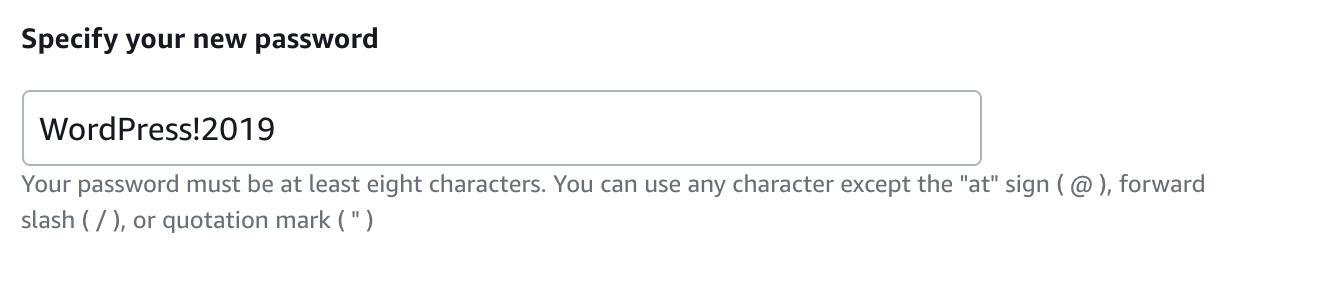
By default Lightsail will create a strong password for you. However this password can contain characters that making copying and pasting difficult, so for this lab we’re going to specify a password. To do this first click Specify login credentials

Next, uncheck the box next to Create a strong password for me and enter WordPress!2019 for the password.
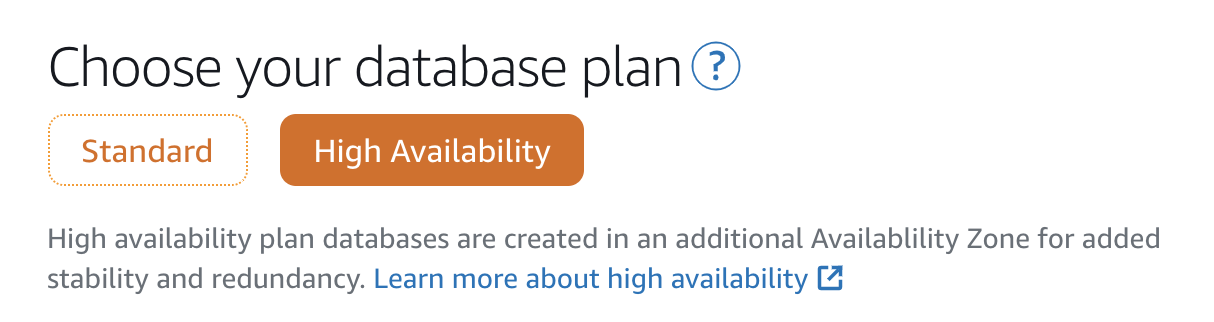
Because you are creating a highly available WordPress site, you’ll need to choose the High Availability option under Choose your database plan
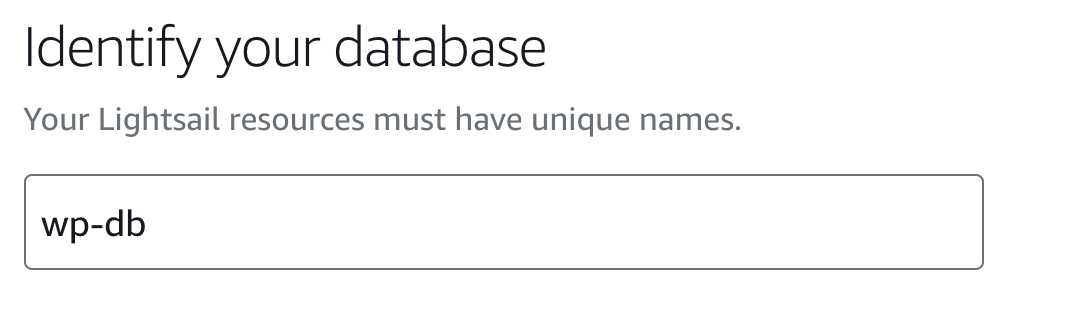
Name your database wp-db
Click Create database
It will take several minutes for the creation process to complete, so feel free to move on to the next step while this happens. You’ll come back to the Lightsail database later in this session.
Configure Amazon S3 to Hold Static Media Files
Just like we need a centralized database to store information for our WordPress site, we also need a centralized place to store any media objects that WordPress will serve up. To do that we’re going to use S3 and a WordPress plugin, Offload Media Light. In order for the plugin to be able to communicate with S3, it will need to have the correct IAM permissions. To facilitate this, you’ll create an IAM user and supply those credentials to the plugin.
Create an IAM User
Open the AWS Management Console
Navigate to the IAM Console
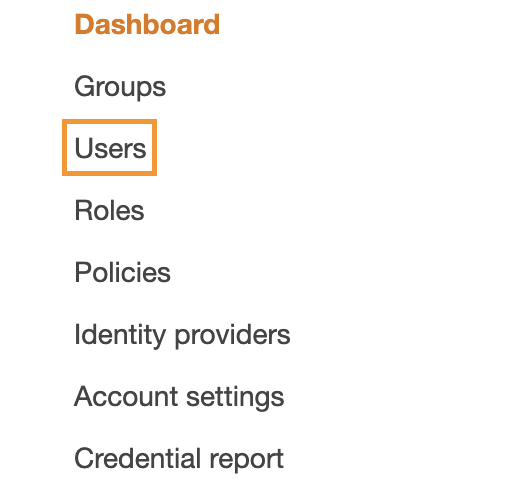
From the Dashboard, choose Users
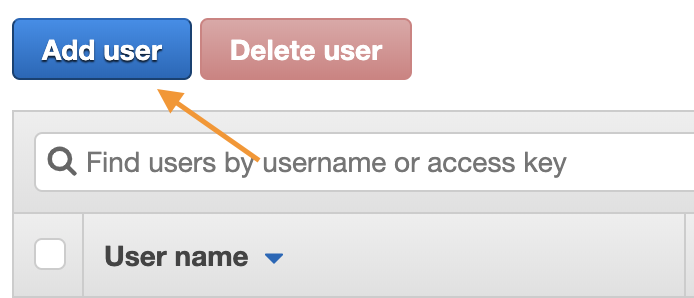
At the top of the page, choose Add user
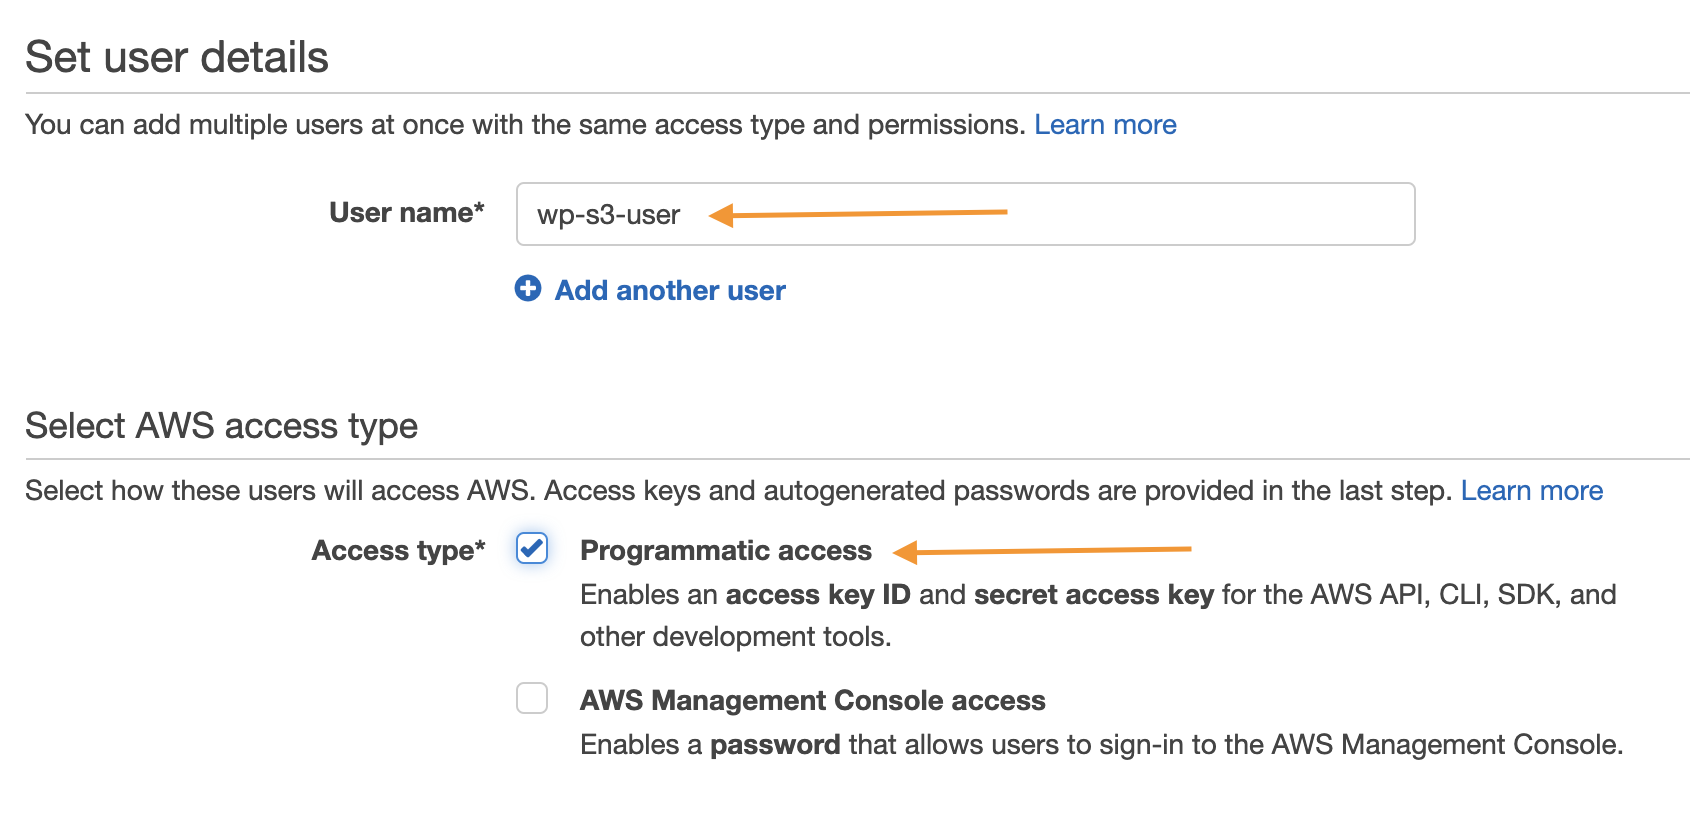
In Set user details, for User name, enter wp-s3-user
For Access type, select Programmatic access
Choose Next: Permissions
Choose Attach existing policy directly
In the Filter polices field, enter S3
From the search results, select AmazonS3FullAccess
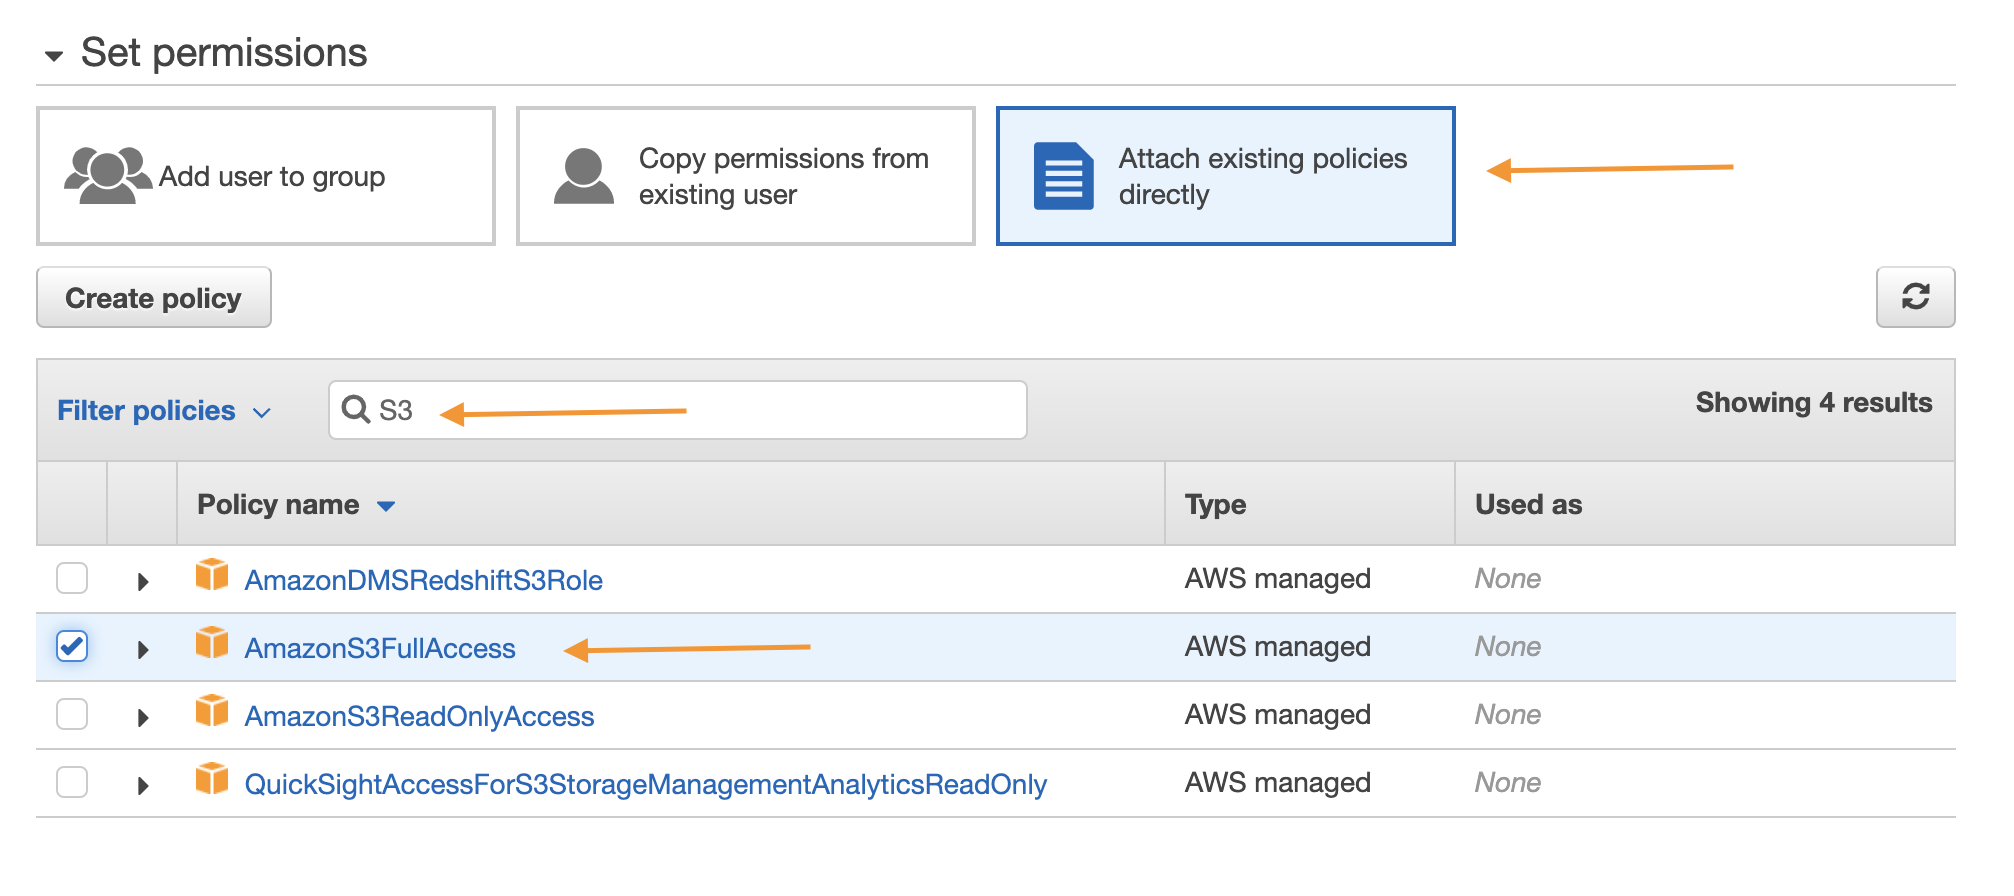
The AmazonS3FullAccess policy gives the WordPress plugin we’re going to use full permission over all your S3 buckets, and should only be done for demo purposes. You would not want to do this in production. This blog post explains how to properly configure permissions for a production envrironment.
Choose Next: Tags
Choose Next: Review
Choose Create user
The page displays the credentials you need to configure the WP Offload Media Lite plugin
Under Secret access key, select Show

Save the Access Key ID and Secret Access Key for reference.
To download a CSV file with the key information, choose the Download .csv file button.
If you navigate away from this screen, you can’t obtain the credentials again and need to create a new user. Be sure to either download the CSV or record both values in another document. Treat these credentials the same way you’d treat any sensitive username/password pair.
Update WordPress with the IAM Credentials
Now you need to store the IAM credentials in your WordPress configfuration file so that the Offload Media plug-in use them to access the S3 bucket.
Return to the Lightsail home page
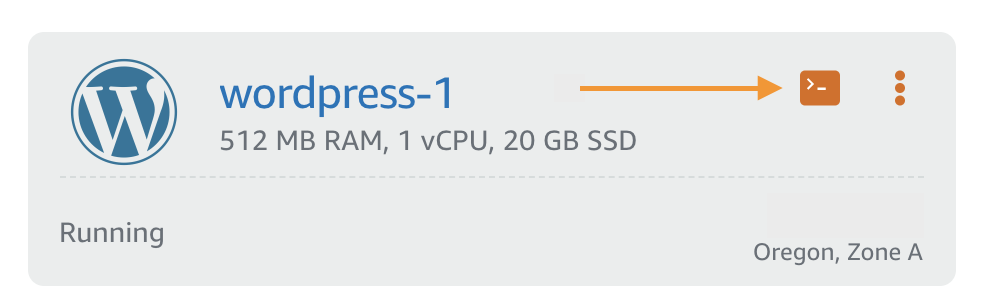
Start a terminal session into your WordPress instance by clicking the terminal icon on the instances’ card
In the terminal prompt for your WordPress instance, set two environment variables (ACCESS_KEY and SECRET_KEY that contain the credentials for your IAM user.
To set the environment variables, substitute the values for your IAM user’s access key and secret key into the following lines and enter each command one at a time at the terminal prompt:
ACCESS_KEY=<Your access key>

SECRET_KEY=<Your secret key>
The next step is to update your WordPress configuration file (wp-config) with the credentials.
Copy and paste the following command:
cat <<EOT >> credfile.txt
define( 'AS3CF_SETTINGS', serialize( array (
'provider' => 'aws',
'access-key-id' => '$ACCESS_KEY',
'secret-access-key' => '$SECRET_KEY',
) ) );
EOT
This command creates a file with the credentials to insert into the configuration file.
Next use the sed command to insert the credential information into the wp-config file
Copy and paste the following sed command:
sed -i "/define( 'WP_DEBUG', false );/r credfile.txt" \
/home/bitnami/apps/wordpress/htdocs/wp-config.php
This command inserts the temporary file you created into the WordPress configuration file.
The sed command changes the permissions on the WordPress configuration file, so you’ll need to use chown to reset them to the appropriate values
Copy and paste the following code:
sudo chown bitnami:daemon /home/bitnami/apps/wordpress/htdocs/wp-config.phpRestart the services on the instance by entering the following command:
sudo /opt/bitnami/ctlscript.sh restart
After the services restart, your WordPress instance is configured to use the IAM credentials and you are ready to configure the WP Offload Media Lite plugin.
Installing and configuring the plugin
Now that the configuration file holds your credentials, you can move on to installing and configuring the plugin.
The next step requires you to log in to the WordPress dashboard, and to do that you need the Bitnami application password for your WordPress site. It’s stored at /home/bitnami/bitnami_application_password.
Enter the following cat command in the terminal to display the password value and copy it down.
cat /home/bitnami/bitnami_application_passwordLog in to the administrator control panel of your WordPress site.
You can access the WordPress login screen at http://SiteIpAddress/wp-admin, where SiteIpAddress is the IP address of your WordPress instance, which you can find on the card for your instance in the Lightsail console.
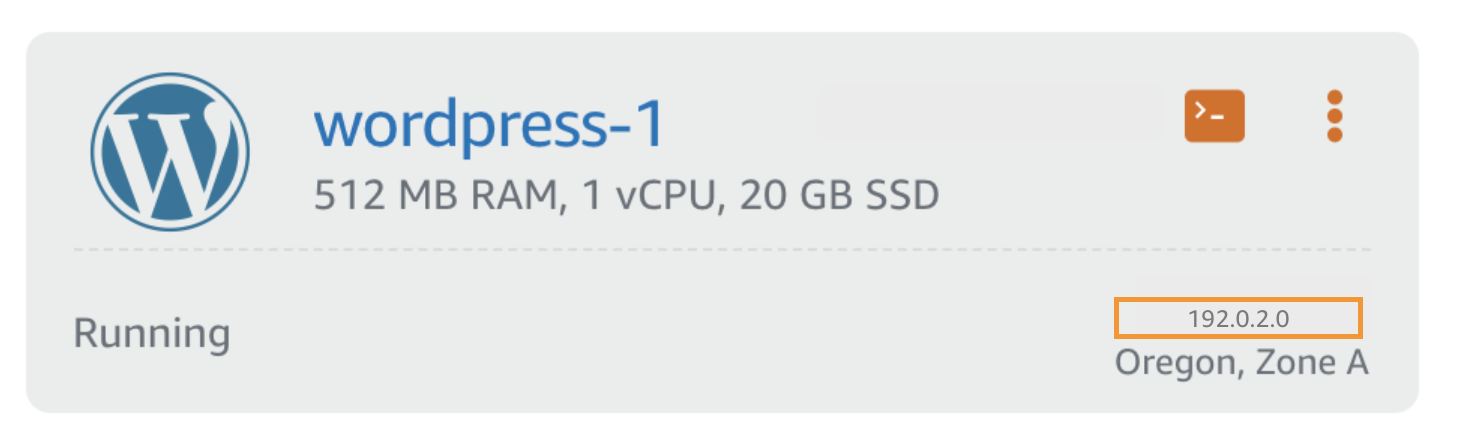
For example, the instance in the preceding screenshot has the IP address 192.0.2.0; you can access the login screen using http://192.0.2.0/wp-admin.
For login credentials, the default user name is user.
For the password, use the Bitnami application password you recorded previously.
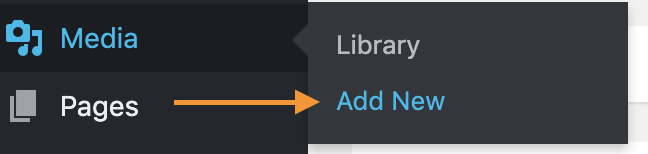
After signing in, install and configure the WP Offload Media Lite plugin by following these steps:
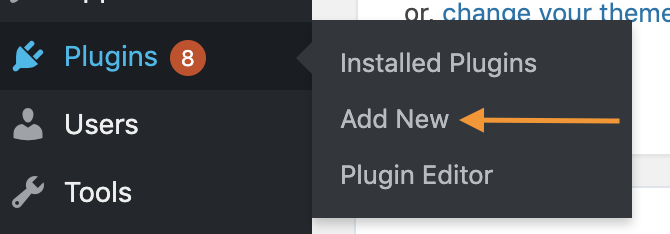
Under Plugins, choose Add New.
On the Add New pane, in the Keyword field, enter WP media offload

The results display the WP Offload Media Lite plugin.
On the card for WP Offload Media Light click Install Now
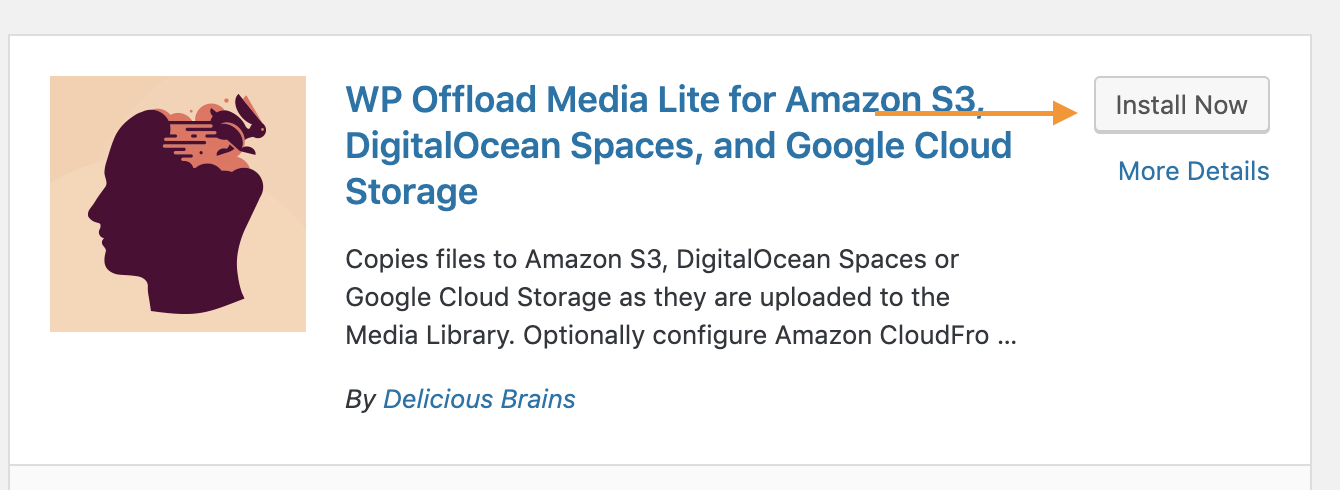
After a few seconds, the Install Now button changes to Activate.
Click Activate
The main WordPress plugins screen opens.
Scroll to the bottom of the plugins list and find WP Offload Media Lite.
Click Settings
You now need to create an S3 bucket to hold your media files. An S3 bucket is a unique container that stores all your WordPress files.
Click Create new bucket
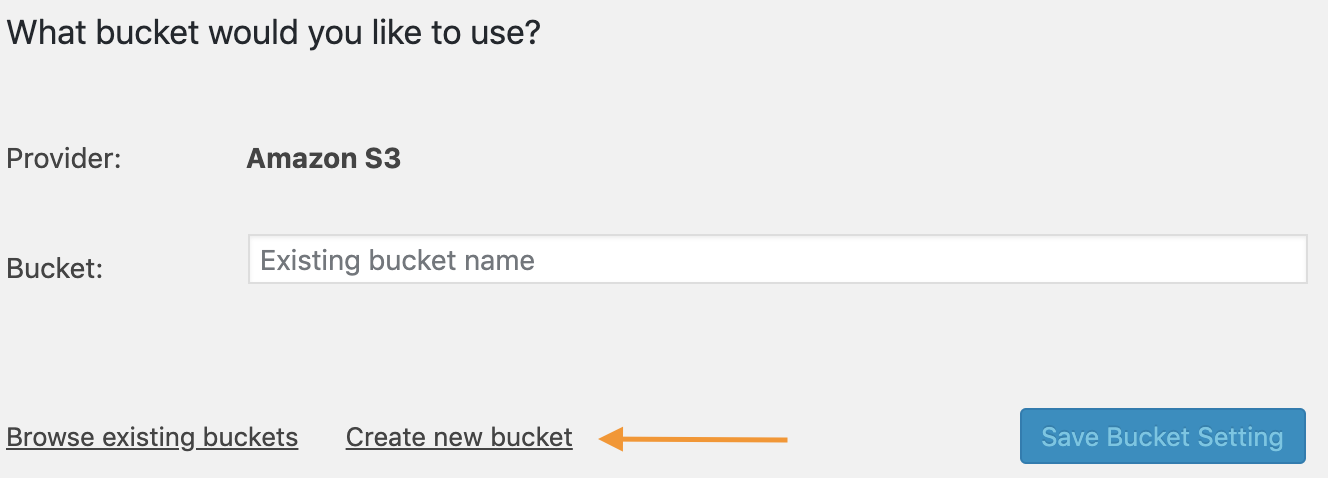
For Region, select US West (Oregon)
Enter a name for your S3 bucket
Click Create New Bucket
Your WordPress website is now configured to upload files to the S3 bucket managed by the WP Offload Media Lite plugin.
Troubleshooting
If you received an error indicating that access to your S3 was denied, check the public permissions for S3 by following these steps:
Open the S3 console
From the menu, choose Block public access (account settings)
Choose Edit
Clear Block all public access
Choose Save
In the text box, enter confirm
Click Confirm
This setting ensures that none of your buckets are publicly accessible. If you clear the setting, make sure to verify that permissions are set correctly on your buckets.
Return to the WordPress console, and refresh the Offload Media Lite page where ou should no longer see the error.
- Scroll down and click Save Changes
Testing the plugin
To confirm that the plugin is working correctly, upload a new media file and verify it’s being served from the S3 bucket.
From the WordPress console, choose Media then Add new
Upload a file by either dragging and dropping a file into the field, or choosing Select and selecting a file from your local machine
After the file uploads, choose Edit to the right of the uploaded file
In the Edit Media pane, the File URL should point to your S3 bucket. See the following screenshot
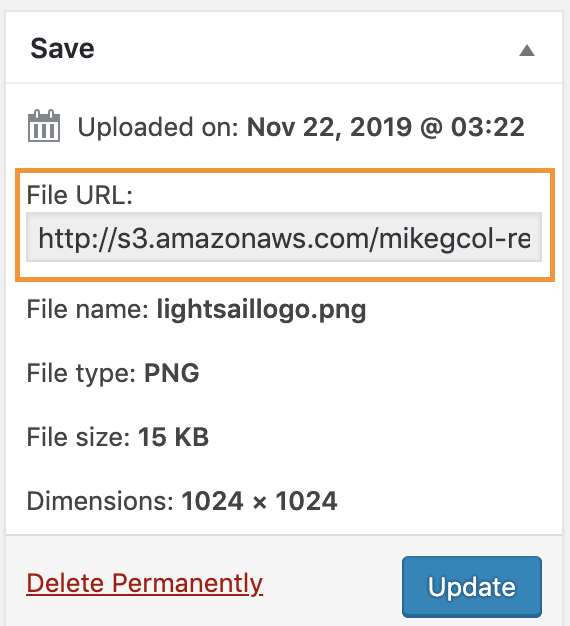
Copy that URL into a browser and confirm your file loads correctly
Now any media files uploaded to your WordPress site will be stored in a centralized S3 bucket instead of on the instance’s local file system
Connecting to the Lightsail Database
The next step is to configure WordPress to use the Lightsail database to store its information (as opposed to the database on the WordPress instance). This will allow mulitiple WordPress servers to share one database, enabling a highly availble setup.
In order to use the Lightsail database you’ll need to export the contents of the local database, then import them into the Lightsail database. After that you will update the WordPress configuration file to point to your Lightsail database
Export the data from the local database
Return to the database section of the Lightsail database and click on the name of the database you created earlier
Scroll down to the Connection details section.
Click Show next to the password.
Notice there are values for the endpoint (the database host), username, and passsword.
Return to the terminal session for your WordPress instance
You will now create some environment variables to help in the data migration
The first variable will hold the datbase username. Copy and paste the line below into the terminal window
LSDB_USERNAME=dbmasteruserNext copy the Endpoint value from the connection details screen of your database, enter the command below in the terminal windows using the endpoint value for your host
LSDB_ENDPOINT=<Your database endpoint>For instance
LSDB_ENDPOINT=ls-029f7ef6.us-west-2.rds.amazonaws.comRetrieve the local database password by copying and pasting the command below
cat /home/bitnami/bitnami_application_passwordYou will need to enter this value in the next step
Use the mysqldump command to export the contents of the local database into a file. Copy and paste the command below
mysqldump \
-u root \
--databases bitnami_wordpress \
--single-transaction \
--order-by-primary \
-p > dump.sql
When prompted enter the local database password that you just displayed to the terminal using the cat command
The password will not display when you enter it, and there will be no output from the mysqldump command
Import the Data into the Lightsail Database
You will now use the mysql command to import the data into your Lightsail database.
Copy and paste the command below to import the file you created with mysqldump into your Lightsail database
cat dump.sql | mysql \
--user $LSDB_USERNAME \
--host $LSDB_ENDPOINT \
-p
When prompted enter the password for the Lightsail database which can be found under the Connection settings section of your Lightsail database’s details page
Copy and paste the command below to ensure the database structure was imported correctly
echo 'use bitnami_wordpress; show tables' | \
mysql \
--user $LSDB_USERNAME \
--host $LSDB_ENDPOINT \
-p
When prompted once again enter the Lightsail database password
You should see the following output indicating that the data structure was successfully imported
Tables_in_bitnami_wordpress
wp_as3cf_items
wp_commentmeta
wp_comments
wp_links
wp_options
wp_postmeta
wp_posts
wp_term_relationships
wp_term_taxonomy
wp_termmeta
wp_terms
wp_usermeta
wp_users
Switching WordPress to the Lightsail Database
The final step is to edit the WordPress condfig file (wp-config.php) to point to the Lightsail database. To do this you’ll use the wp-cli command line tool to supply the endpoint, username, and password values for your Lightsail database
Copy and paste each of the following commands one at a time subsitutituting the value found under Connection settings on the details page of your Lightsail database
wp config set DB_USER <UserName>

wp config set DB_PASSWORD <Password>

wp config set DB_HOST <Endpoint>
For example:
wp config set DB_USER dbmasteruser

wp config set DB_PASSWORD ‘WordPress!2019’

wp config set DB_HOST ls.rds.amazonaws.com
You should receive a success message after each entry
To avoid issues with any special characters the password may contain, make sure to wrap the password value in single quotes (‘).
Use the wp config list command to ensure that everything looks correct
wp config listThe output should look similar to this
+------------------+-----------------------------------------------------------+----------+
| name             | value                                                     | type     |
+------------------+-----------------------------------------------------------+----------+
| table_prefix     | wp_                                                       | variable |
| DB_NAME          | bitnami_wordpress                                         | constant |
| DB_USER          | dbmasteruser                                              | constant |
| DB_PASSWORD      | WordPress!2019                                            | constant |
| DB_HOST          | ls-029f7ef68358e2935.us-west-2.rds.amazonaws.com          |          |
<output truncated>
Copy and paste the command below to restart the WordPress server
sudo /opt/bitnami/ctlscript.sh restartOnce the command completes wait 60 seconds and navigate to the IP address of your WordPress server to ensure it’s still operating properly
Scale the WordPress Web Servers
The final step is to create multiple copies of your WordPress web server, and place them behind a Lightsail load balancer. This will ensure that if one of your web servers was to fail you still have other servers capable of servicing client requests. In this lab you’ll add two additional servers (for a total of 3).
Create a Snapshot of the WordPress Server
To create the additional servers you will create a snapshot of your existing server. A snapshot is a point-in-time copy of an isntances disk that can be used to create additional identical servers.
Return to the Lightsail home page
Click on the name of your WordPress server
Click on Snapshots from the menu
Click + Create snapshot under Manual snapshots
Click Create (you can leave the name the default)
It will take a few minutes for the snapshot to finish. In the interim you can deploy your load balancer
Create the Load Balancer
Return to the Lightsail home page
Click on Networking from the menu
Click on Create Load Balancer
Give the load balancer any name you wish
Click Create load balancer
Return to the Lightsail home page
Create Additional WordPress servers
From the Lightsail home page click Snapshots
Most likely Lightsail will still be creating the snapshot, wait until it completes

When the snapshot completes click the carat and then the 3 dot menu and select Create new instance
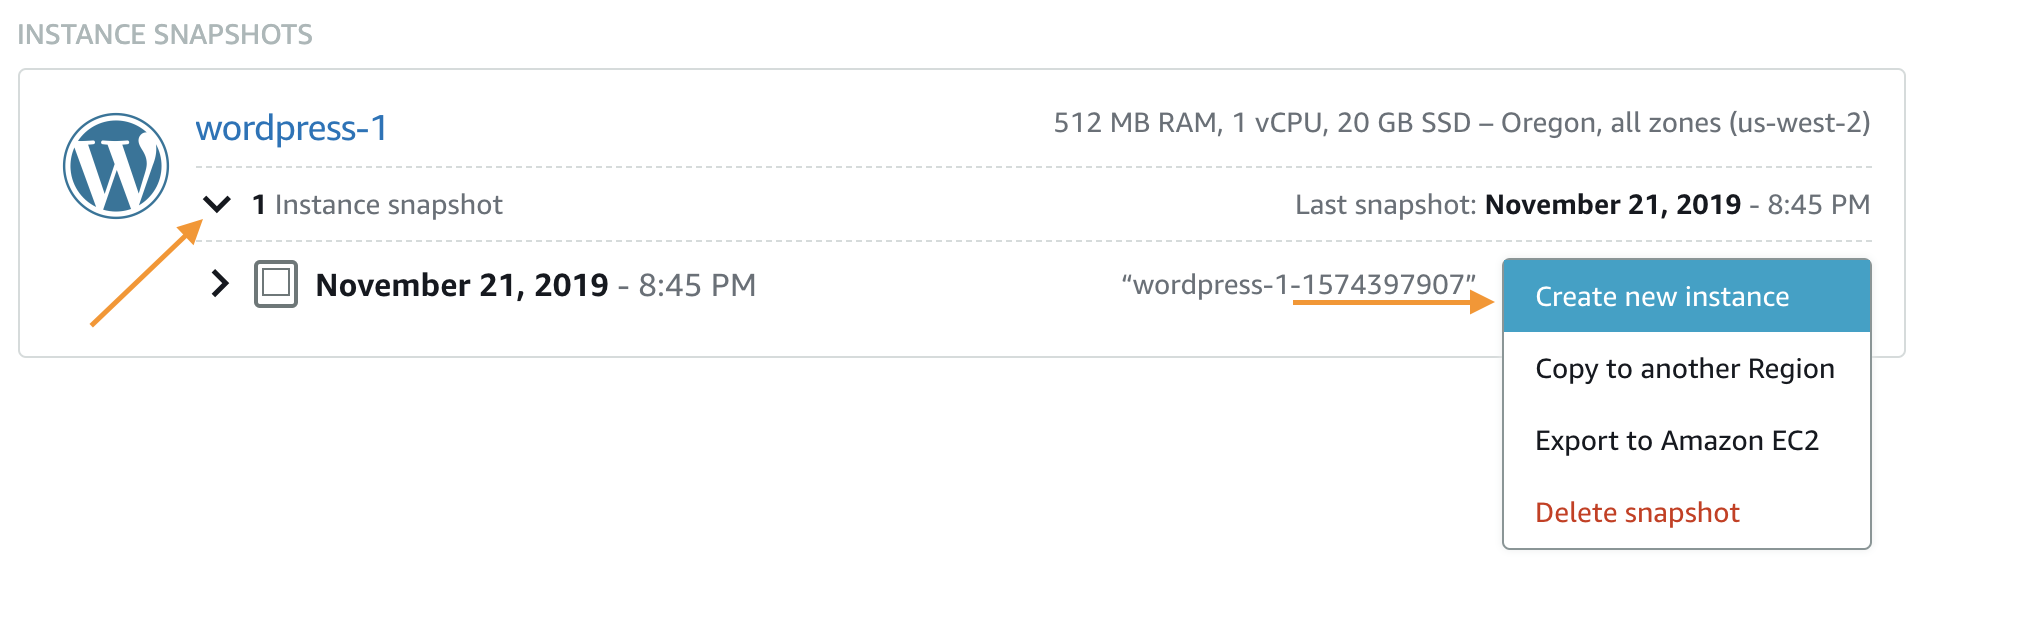
Scroll to the bottom and name the instance WordPress-2
Using the same process create a third instance and name it WordPress-3
Wait until the two newly created instances have a status of Running

Add the WordPress Servers to the Load Balancer
The final step is to add all three instances to the load balancer you created earlier.
Return to the Lightsail home page
Click on networking
Click on the name of the load balancer you created
Click the drop down arrow in the box under Target instances and select WordPress-1 from the list
Click Attach another
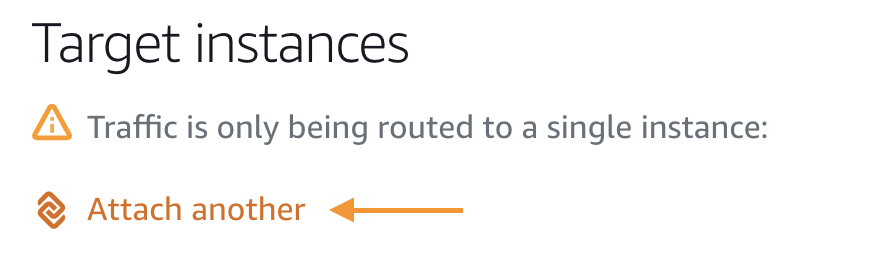
Click the down arrow and select WordPress-2
Click Attach
Repeat those steps again and attach WordPress-3
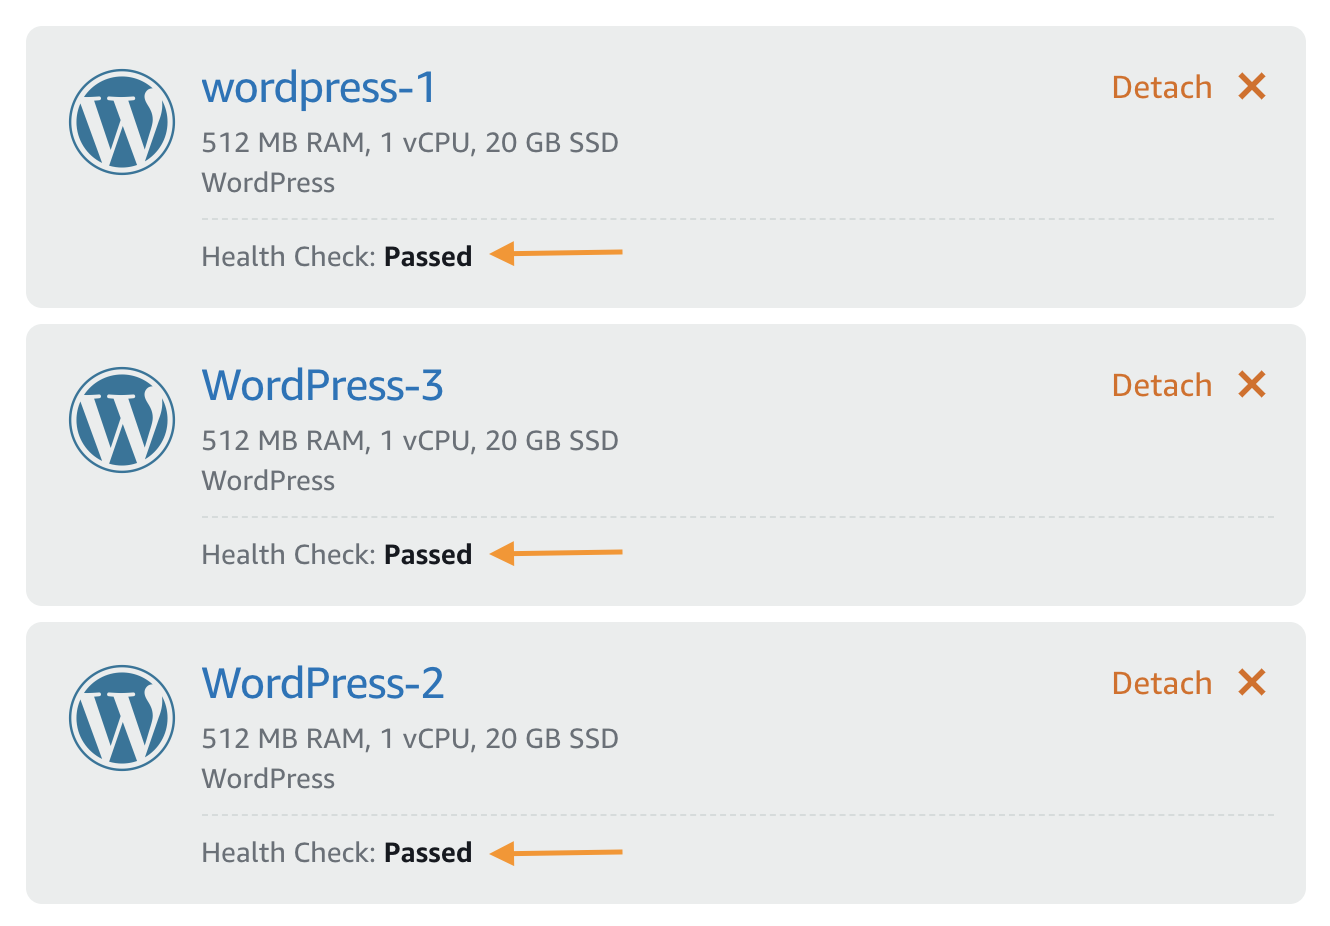
After a couple of minutes all three servers should report a health check status of Passed
Scroll to the top of the page and copy the DNS name of the load balancer

Navigate the load balancer’s DNS name in your web browser and ensure that you can access your WordPress site
That’s all - you have created a highly-available WordPress site complete with 3 instances, highly available database, and a load balancer.